Inlägg

Visar inlägg med etiketten Tutorial

How-To Draw Simple Shapes in Silhouette Studio

Bild
Hi there, here is a new How-To video about Draw Simple Shapes in Silhouette Studio. In the future you can look at it in the new tab, on the top menu bar,  Silhuette Studio

Freebie Sunday, week 41, Girl-Owl Painting for Keyla

Bild
Hi there, Happy Sunday and time for a new Freebie, and tutorial. This week I have made a beautiful painting to one of my granddaughters. I hope she is going to be happy for it. Here you can download Your Free Silhouette v3 file And here is the tutorial for it, but you can also cut it out in vinyl. I started to paint my canvas (15,5 x 12 ") white,  Cutted out the Free Girl-Owl on some vinyl that I don't use, And remember to cut out all the lines. Put the vinyl on the canvas, litle bit tricky to get is straight,  Draw a line round the pattern.  Used the folkArt paint Started with the black eyes and eyelashes, just pull out the vinyl, and paint them black, and move on to next color and so on, untill the hole painting is filled with color.  This is how mine look when it was half way through the process. And I have to make two layers of color.  A close up, and as you can see, the eyelashes, you have to paint over them with the pink paint, and

Birthday Card for Leo Tutorial

Bild
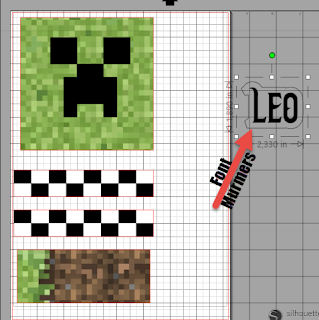
Hi there, today it is my grandson Leo's 8 birthday. Wow the time is rushing, it feels like he was just a baby a few years ago. Leo love to play Minecraft so I decided to make a Birthday Card in that theme. I google on maincraft paper, I always select images when I do a search, and I found some good backgrounds for  Free here . Downloaded it in to Silhouette Studio Software and made the size 5,25 x 5,25" for the Green Grass Block Wallpaper. Then I made the black "Creeper" just by put together black blocks, also the black and white blocks was made in the sam way.  To make two of the black/white image I just hit the "Replicate Window" in my Studio Software, on the top bar menu, and hit the button "Duplicate Below"  (I just use one of them). The Brown/Green Grass Block Wallpaper had the size 5,0 x 2,0". In the "Text styles Window" , I selected the text font Murmers for Leo's name and also for the "Congra

2-in-1 tutorial Dingbats + Fill Pattern in Silhouette.

Bild
Hi there, Dingbats! What a heck is that?? Silhouette Studio Software lets us use any font installed on ourPC's.   DaFont.com is one of many webisites, where you can find a lot of image/icon fonts (Dingbats). Install the Dingbat you going to use, restart Silhouette Studio, in this tutorial I use Mellow Fonts 1 Open The the text style window Type in the Dingbat font that you are going to use. Use the text tool to type in font images.  Be sure to use both capital and lower case letters since many times the lower case is the mirror image of the upper case. Remember to click outside the typing area when you are finished. To turn your Dingbat, if it is not horizontally, just grabb the litle green dot and press down Shift Key, rotate it 90° CW, and you can feel that it is like a small notch there, Release your finger from the mouse and then from shift Key,  Or you can open the Rotate window And click on the symbol. As you can see here I use the capital case &qu

How to Print and Cut Stickers.

Bild
Hi there, todays tutorial is How to print out Stickers in Silhouette Studio Design software, I think you also can make it in the free software, here you can download the  Free Silhouette Software . I  created my own design. And I made it  1,2".  So you can start here, or download my design here Draw a circle, and open the Offset tool. Make an Internal offset Give it a weight so it prints, in the "Line" tool. Type out your text. In this Tutorial, you can see, how to make a text curve.  Turn on the cut edge line ONLY on the outer circle just like you would for a print and cut And when you are finished with your design follow this easy steps; Open the Design Page Settings. Set the (in this case) width to 8.5" x 11" (sorry about the piccture) for the size of the Silhouette printabel white sticker paper. Mark your design and open the Registration Marks and set the Style as above, or if you have Type 2 use that one. Open

How to make Text Curved in Silhouette Studio.

Bild
Hi there, To make text curve around a circle in Silhouette Studio can be a little bit tricky. Open Silhouette Studio and select the Draw an Ellipse  tool. A .  In the work area draw a circle, and to make it round hold down your "shift key " in the same time        that you draw your circel. B.   Write your text, chose your fonts and text size in the Text Style Window. C.   Double click the text so you get the bright green box around it.   On the left side of the box, a little circle with directional arrows will appear.  Grab it and drag it over to the circle you drew.   The text will wrap around the circle. You can move the text to position it exactly where you want it on the circle by dragging that little circle with the arrows around the circle or inside of it to get the text to wrap around the inside of the circle. The small handle next to the litle circlecross, you can adjust how narrow you want your text to be to the circel line.

How to Getting Cleaner Cuts!

Bild
Hi there, I have notice that a lot of Silhouette owners struggling with bad cuts, so here is a way to make them more cleaner.  Open your silhouette software and click on the "Preferences panel",  "Advance" option.  scroll down to "Packet Size" change it to 500 bytes  And hit "APPLY". It should look like this when you are finished. Hope that it will help you as it did for me. Happy Creation;) Anki J

Birthday card for Damian

Bild
Hi there, today is my grandson Damian 7'nd birthday, ig boy now!  I made a hinge card for him, and he loves paintball as you can see from the card design.  This is the front of the hinge card! Inside and Here is before I put it together How to make it: * I have cut out from white cardstock 20x10,5cm for the front and 21x10,5cm for  the back.  * Score the top on 1 cm on the back pice, fold it and put some doublesided tape  on the folded part.  * Cut a smaller panel of colored cardstock and a even smaller piece of white  cardstock, make 2 set of this, one for inside of the card and one for the front. * Married the 2 pieces together. * Decorate the front panel as you pleased and glue it on the white front panel. * Decorate the inside and remember to make it flat, and glue this on the white  back pice.  *Put the front and the back together and you have a hinge card. Happy Creation:) Anki J

Birthdaycard for Molly!

Bild
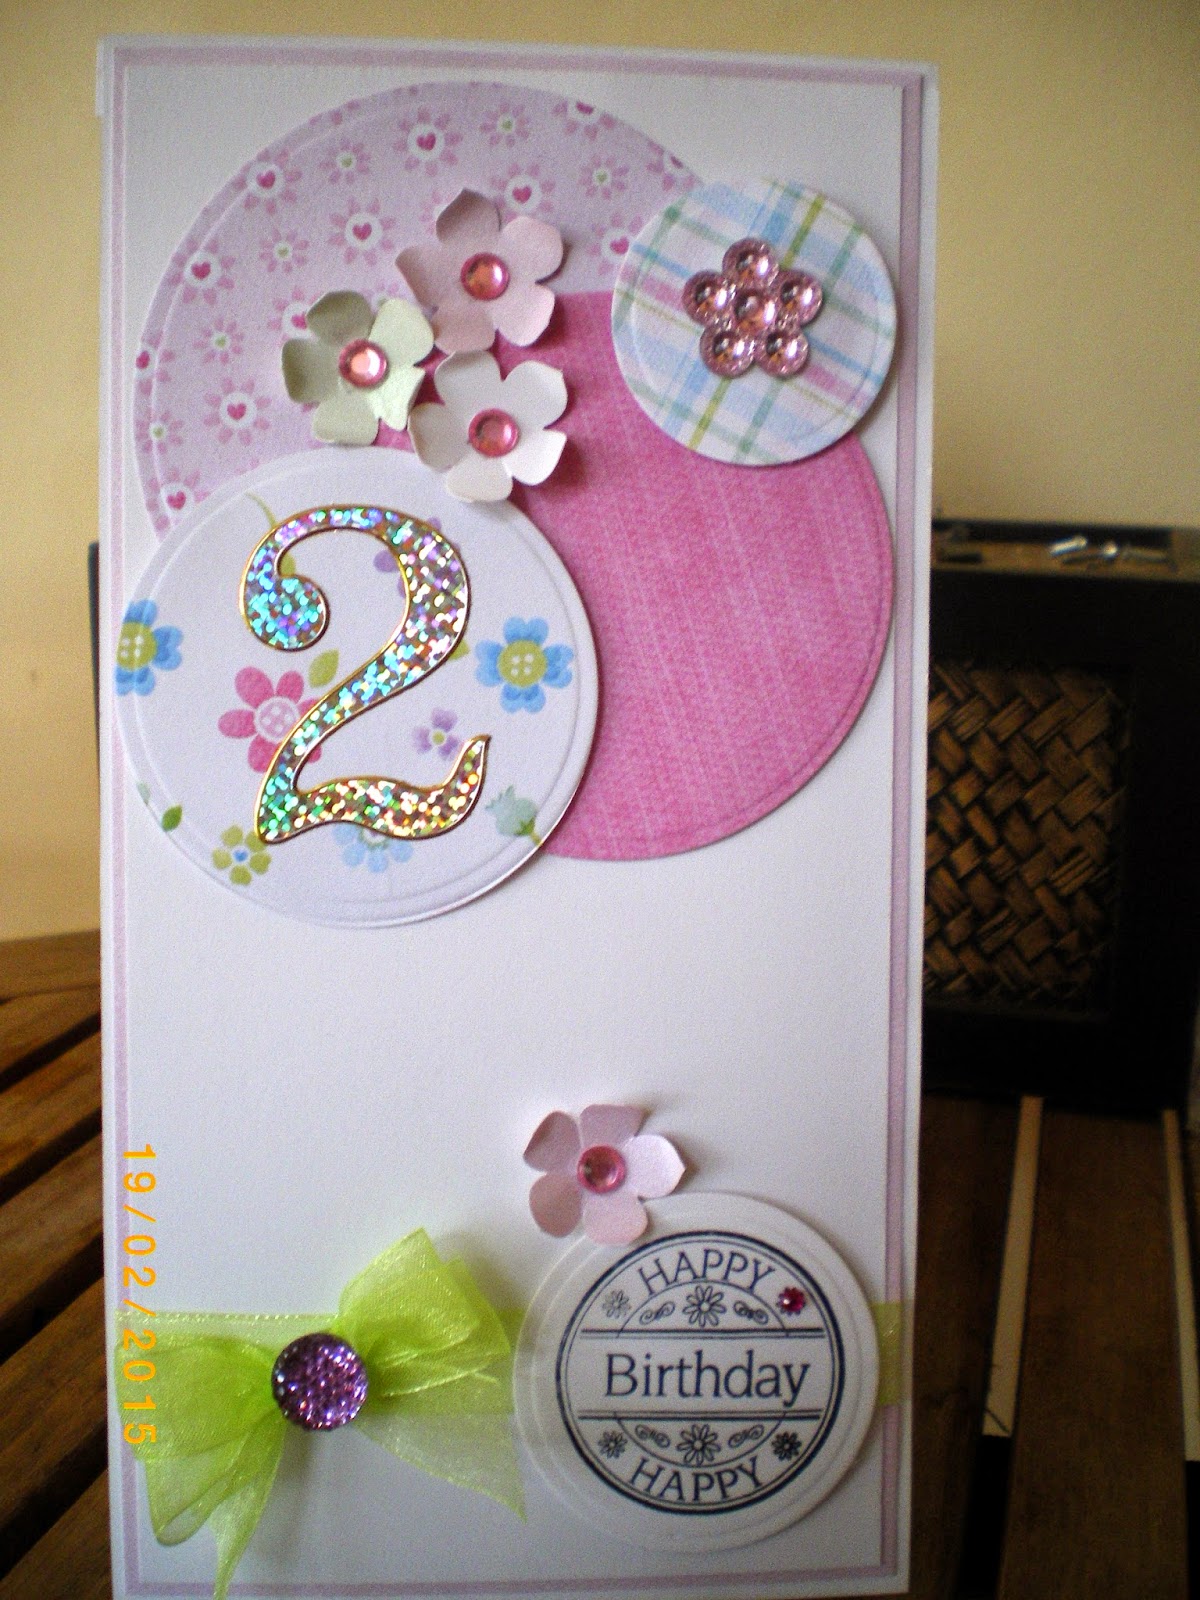
Hi there, today is my granddaughter Mollys 2'nd birthday, Oh she is groving quick, I made a hinge card for her. I have cut out from white cardstock 20x10,5cm for the front and 21x10,5cm for the back. Score the top on 1 cm on the back pice, fold it and put some doublesided tape on the folded part. Cut a smaller panel of colored cardstock and a even smaller piece of white cardstock, make 2 set of this, one for inside of the card and one for the front. Married the 2 pieces together. Decorate the front panel as you pleased and glue it on the white front panel. Decorate the inside and remember to make it flat, and glue this on the white back pice. Put the front and the back together and you have a hinge card. Happy Creating:) Anki J

Birthday card for Keyla!

Bild
Hi there, today is it my granddaughter Keylas 5th #birthday, so I made a nice Hinge card for her. Here is the tutorial for the Hinge Card: This tutorial did I make the 4th of mars. I have cut out from white cardstock 20x10,5cm for the front and 21x10,5cm for the back. Score the top on 1 cm on the back pice, fold it and put some doublesided tape on the folded part. Cut a smaller panel of colored cardstock and a even smaller piece of white cardstock, make 2 set of this, one for inside of the card and one for the front. Married the 2 pieces together. Decorate the front panel as you pleased and glue it on the white front panel. Decorate the inside and remember to make it flat, and glue this on the white back pice. Put the front and the back together and you have a hinge card. Happy Creating:) Anki J

#Birthdaycard for my Grandson Colin #Tutorial with my Silhouette Cameo

Bild
Hi there, today is my grandson Colin's 2'nd birthday, Oh he is groving quick, I made a hinge card for him, with a cute owl on from Silhouette Studio!  I have cut out from blue cardstock 20x10,5cm for the front and 21x10,5cm for the back. Score the top on 1 cm on the back pice, fold it and put some doublesided tape on the folded part. Cut a smaller panel of white cardstock, make 2 set of this, one for inside of the card and one for the front. Decorate the front panel as you pleased and glue it on the white front panel. Decorate the inside and remember to make it flat, and glue this on the blue back pice. Put the front and the back together and you have a hinge card. I bought the Owl from Silhouette Design Store . Happy Creation;) Anki J .