Inlägg

Visar inlägg från 2014

New Video #Tutorial - Tealigth Card

Bild
Hi there, and hope that you had a great Christmas! Today is my new tutorial video finished and here is the final result of the Tealigth Card.  Front of the card And inside of the card, lots of space for a message to the reciver. Layout for the card. Happy Creating;) Anki J

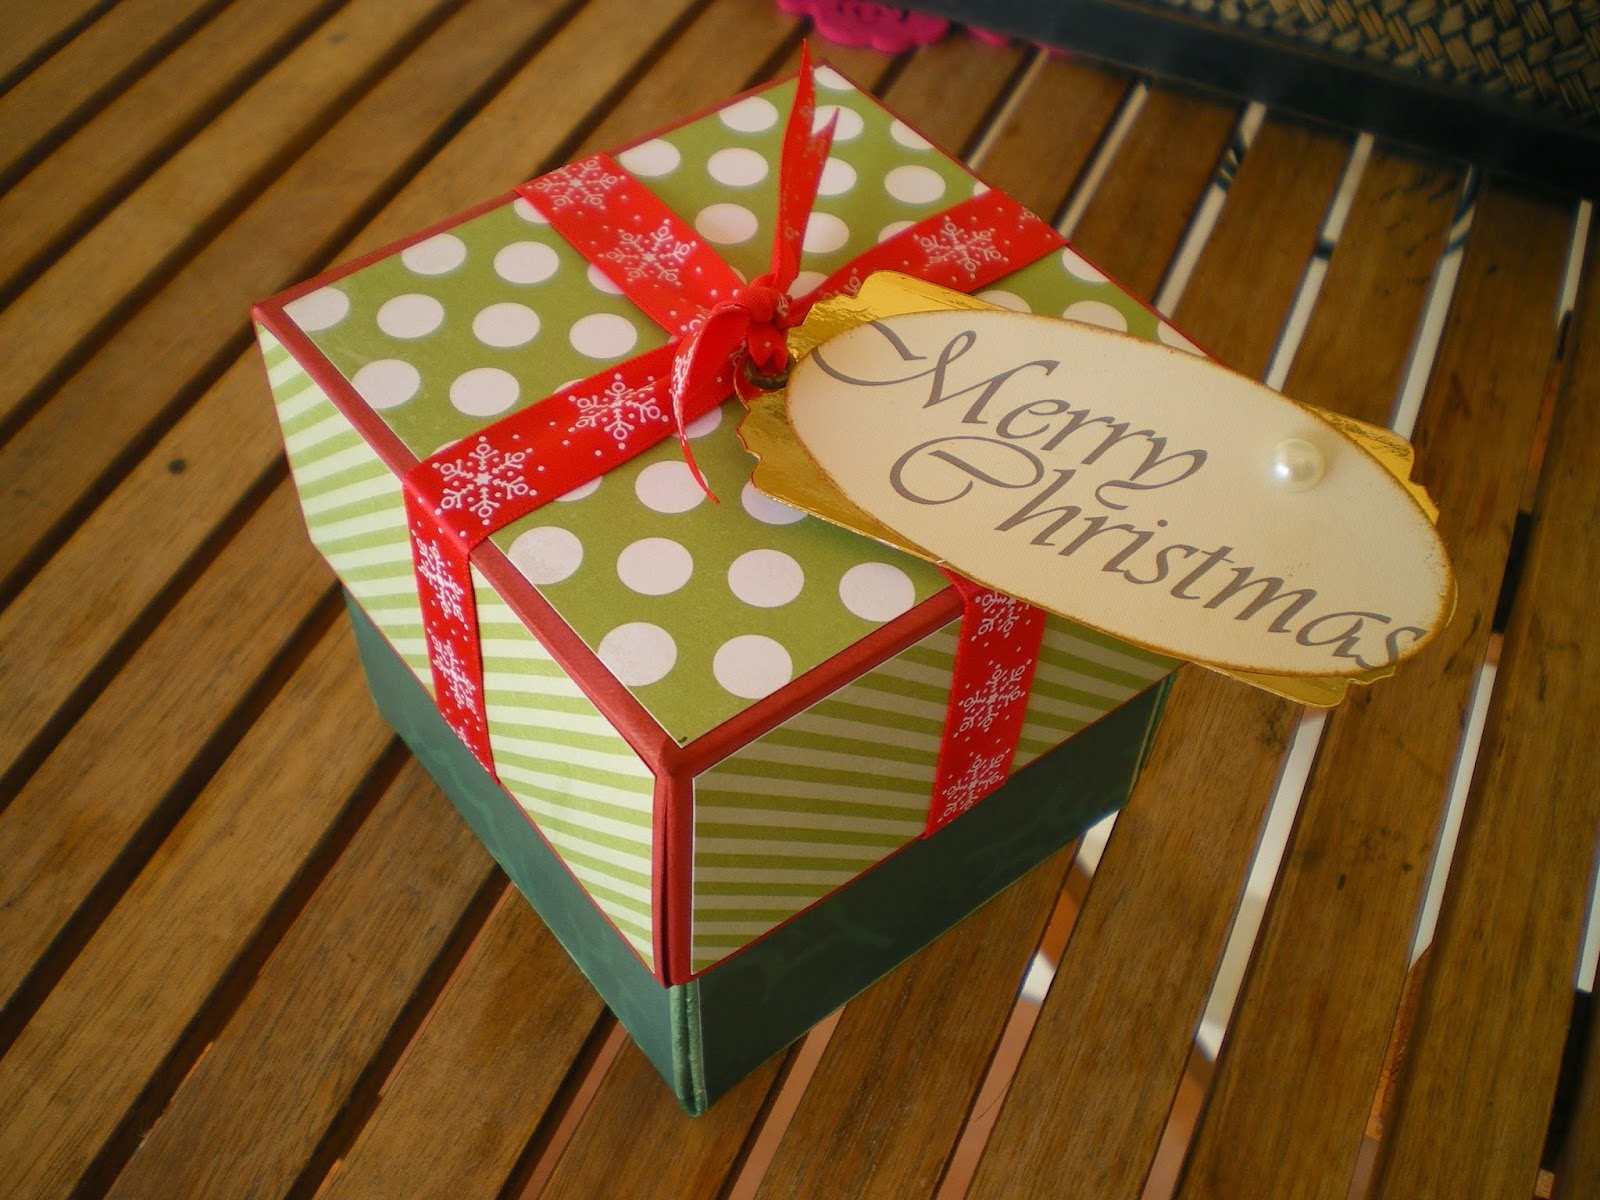
Merry #Christmas

Bild
Merry Christmas & Happy New 2015!

No time at all...

Hi there, things not working out that I thought it should, so my next video is going to be a little bit delayed. For Christmas we are having a big party here at our house so to much to do! Hope you forgive me for the video ;) Happy Creating;) Anki J

New #Tab for my Video-Tutorials

Bild
Hi there, I have make a new tab for my Video-Tutorials. You can visiting it just by clicking on the "Video" tab above here on the blog. On my way to make a new Video-Tutorial hope it will be finished in a couple of days! Was at a party to my Thai friend "Nim's house", here you can see 4 happy ladies! Happy Creation;) Anki J

A small box for Big #Tealights

Bild
Hi there, Yes I did it!!  My first video for Youtube is finished, and you can see the result here. For this video you need: 1 cardstock 10" x 5 7/8 " 1 piece decorpaper/cardstock 2 1/8 " x 2 1/8 " for the top of the Box. 4 pieces decorpaper/cardstock 2 1/8 " x 1, 5 " for the sides of the Box. 2 small cardstock of your choice, for the dies, #Spellbinders Dies Nestabilities "Lacey Circles" S4-293 and "Standard Circles Large" S4-114. Round stamp of your choice, and a small piece of paper/cardstock to stamp on. Hope that you enyojed as much as I did, next time will be a better video, still learning. Happy Creation;) Anki J

Recording is in progress

Hi there, I'm so excited I have just bought a stand for my videocamera, so today I'm going to try to make a recording of my tutorials. Hope that I can share it in a few days. Happy Creating;) Anki J

#Tutorial #ExplodingBox

Bild
Hi there, it's still very hot here in Thailand for the season around +34C every day, phuuu, like it better when it is around +28C. Today I going to share a tutorial of a Exploding Box. In the end of this tutorial you have a video how to do! 2 cardstock 12x12 " Bottom and Lid. Here you can see the measure and the marks to score the box bottom.  To score the diagonal corners I use a ruler and the stylus on my Magnetic Cutting Mat.    I mark the 4 corner in heart shape and cut it out.  Fold the heart shaped corner Distress all edges and scorings, both inside and outside.  Stamp your message inside the box. I used a christmas stamp from my "stash"   I cut out 4 pieces 3 1/8 "x 3 1/8 " of christmas paper and glue it on the outside of the box.   Internal pocket, 1 sheet 11 3/4 "x 11 3/4", score and cut as above. i did mine in green cardstock. Cut/punch out a small piece in the middl

#ChocolateCard with Hunkydory's Essentials

Bild
Hi there, todays #Tutorial is a chocolate card, perfect to give away! I did it with papper from Hunkydory and cardstock that I bought in Tesco here in Thailand, it is 180 gsm and A4 and smells a little bit of perfume (typical thai), they also lustre a little bit.    Cut 1 cardstock in 4 7/8" x 6 3/4"  for this small Lindt chocolate bar. ( I made 2 to make another card)  Score and fold at 1 1/2" , 1 7/8" , 4 1/8" and 4 1/2"  Punch the edge of your choice on the side that you had score at 1 1/2" . Cut 2 pieces 7/8" x 2 3/8", and Score at 1" and 1 3/8" Decorate the inside of the card, I use some of my Hunkydory papper in pink, brown and gold. Glue or tape the 2 pieces of the punched side of the card  to make a pocket for the chocolate bar.  Don't forget the tiny little piece in the middle. Glue or tape the 2 ribbon on each side of the "outside" of the card.

#How-to make a clean edge when you Embosse/Stencil

Bild
Hi there, this video is sharing how to make a nice edge of your die-cuts, and in the same time you embosse it to. I'm going to try that on my  #BigShot. Happy Creation;) Anki J

New Tag for my #Tutorial

Hi there, I hope that you have seen that I put all my tutorials in to a tag, you can see it up to the left here on my blog. In the future I wish that I also could do some video of my tutorials, but do not have a nice videocamera jet for that. And also have to learn how to make movies! Happy Creating;) Anki J

Purse #Tutorial

Bild
Hi there, today I'm sharing a beautiful tutorial for a Purse! (Sorry it is in Swedish, use the translation button). So here we go..... Du behöver ett cardstock och skär ut följande: 20 x 15 cm - blir bakstycke och lock 10 x 15 cm - blir framstycke 5 x 9 cm (2 st) - blir sidostycken till väskan 5 x 13 cm - blir botten 7 x 12 cm - blir fickan 5,7 x 3 cm (2 st) -blir sidostycken till fickan 3 x 12 cm - blir botten på fickan Lättast är att sätta på mönstrat papper innan man sätter ihop alla delar. Jag har också rundat av hörnen, utom på bottendelen. Biga dom två sidostyckena till väskan och botten på 1 och 4 cm. Limma fast sidostyckena kant i kant längst ner på bakstycket. Sen monterar jag fast bottendelen och då ser det ut så här. Limma fast framdelen, då bör det se ut så här.. Sen sätter jag fast sido- och bottenstycke på fickdelen, och limmar fast på framstycket. Jag tycker att ca 1 cm från nederkant är lagom.