Inlägg

Visar inlägg från mars, 2015

#Birthdaycard for my Grandson Colin #Tutorial with my Silhouette Cameo

Bild
Hi there, today is my grandson Colin's 2'nd birthday, Oh he is groving quick, I made a hinge card for him, with a cute owl on from Silhouette Studio!  I have cut out from blue cardstock 20x10,5cm for the front and 21x10,5cm for the back. Score the top on 1 cm on the back pice, fold it and put some doublesided tape on the folded part. Cut a smaller panel of white cardstock, make 2 set of this, one for inside of the card and one for the front. Decorate the front panel as you pleased and glue it on the white front panel. Decorate the inside and remember to make it flat, and glue this on the blue back pice. Put the front and the back together and you have a hinge card. I bought the Owl from Silhouette Design Store . Happy Creation;) Anki J .

#Silhouette Color Chart

Bild
hi there, I have made a SVG file of the Line Color Basic Options, in Silhouette Studio Designer. And Why, you ask... Since I have 2 printers I would like to know how the color will come out on paper! So I just printed it out with my Epson and here is how it come out on semigloss copy paper: Now I can see how the color come out on paper! Good to have for the future coloring objects in Silhouette Studio. Happy Creation;) Anki J

Soon in Sweden again!

Hi there, now we start to count down for going home to Sweden the 19 of mars. We are looking forward to that. And we have a lot to do home, selling our house... So I don't going to share so much, but I think I will be back to thailand in august. Happy Creating;) Anki J

Birthdaycard tutorial for my Granddaughter Tuva

Bild
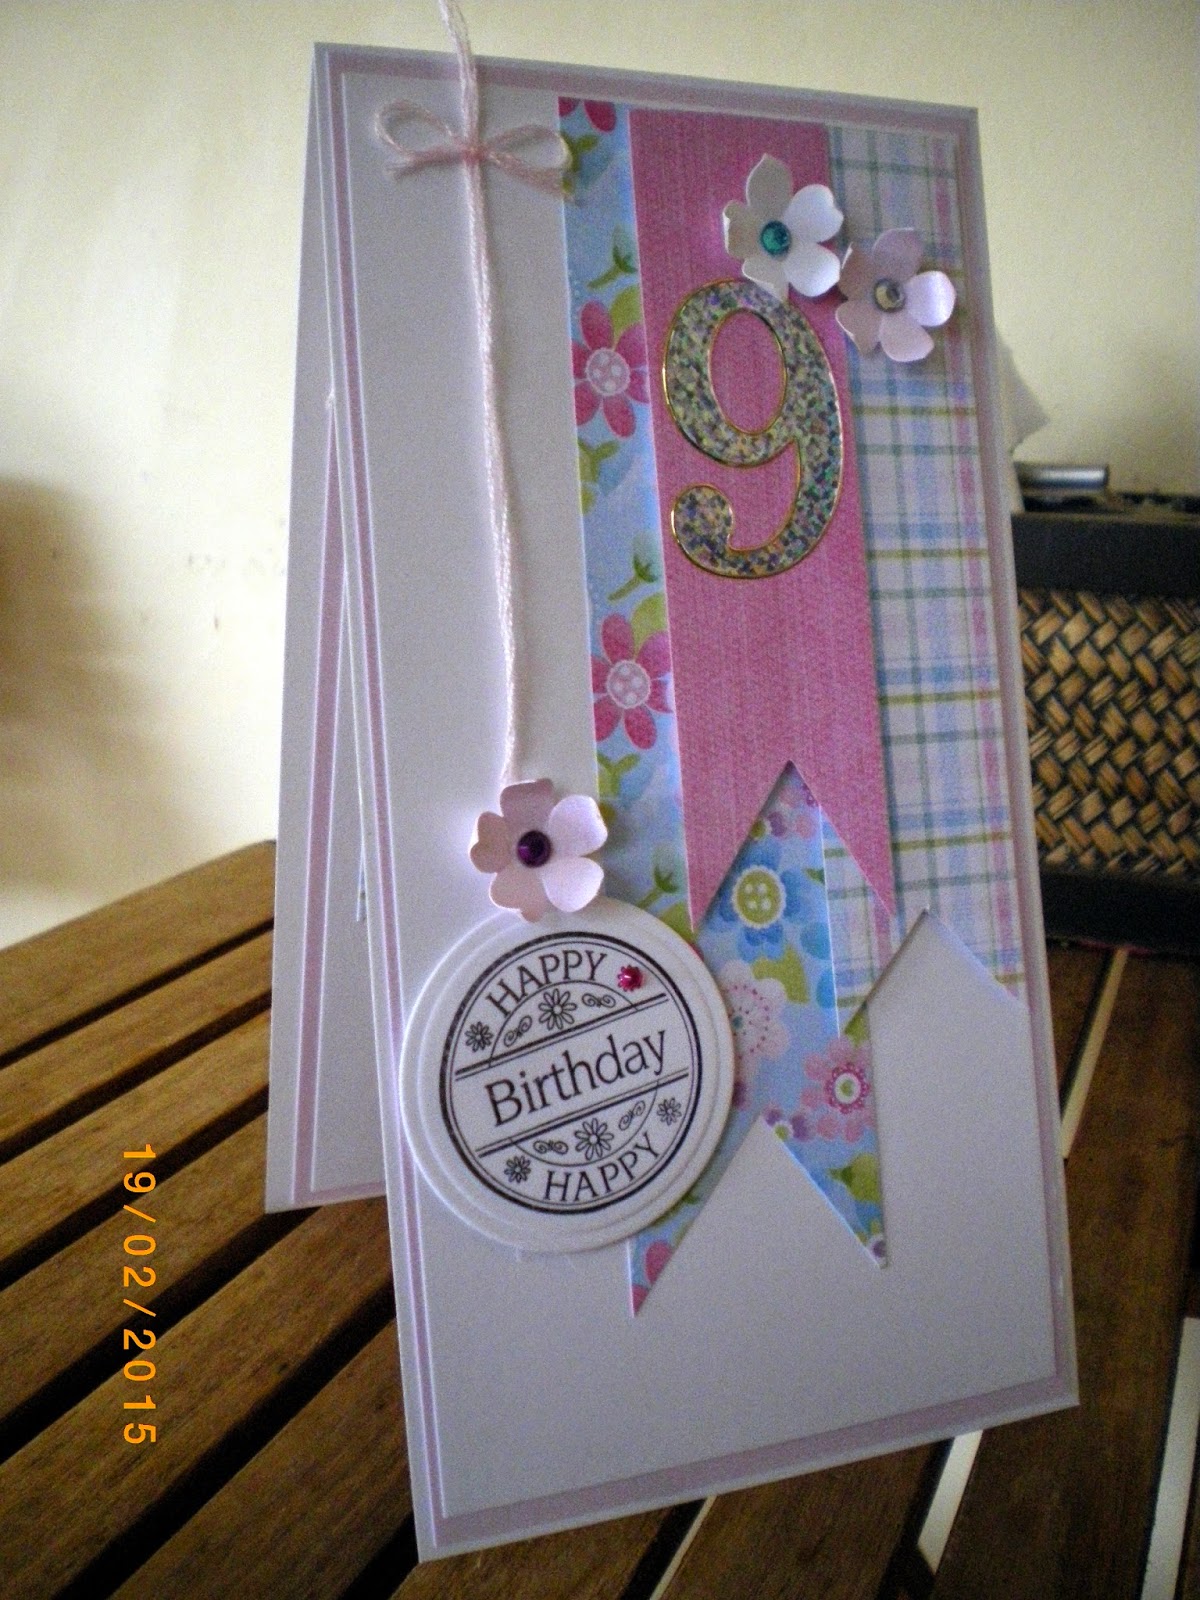
Hi there, This beautiful #birthday card is for my granddaughter Tuva, and today is her 9th birthday!  Here is the tutorial for the card: I have cut out from white cardstock 20x10,5cm for the front and 21x10,5cm for the back. Score the top on 1 cm on the back pice, fold it and put some doublesided tape on the folded part. Cut a smaller panel of colored cardstock and a even smaller piece of white cardstock, make 2 set of this, one for inside of the card and one for the front. Married the 2 pieces together. Decorate the front panel as you pleased and glue it on the white front panel. Decorate the inside and remember to make it flat, and glue this on the white back pice. Put the front and the back together and you have a hinge card. Happy Creating:) Anki J

Ribbon spool Tutorial

Bild
Hi there, todays #tutorial is a #Ribbon-Spool, and how on earth did I get that idea, well I order a lot of ribbons from Ebay and AlibabaExpress and some times they are not on a spool. I store them on a Receip Keeper.  So that's my story. I'm also very lucky to have a #Silhouette Cameo. *You need a empty paper roll. *Heavy cardstock. (I use 285gsm) *Doubblesided tape. *Scotch Maximum Strengt Adhesive or similar. I cut the paper roll on the length, so I get it flat, measured it to the same size as the ribbon that it is supposed to store, and add 2-3mm so I'm shore it's fit the ribbon. I Cut it streight with my Fiskars papercutter. Cut of a small pice on the short end about 1-2 cm, depend on how much ribbon you need to have on your finished spool. Put some double sided tape inside one of the ends and outside on the opposite side, Put them together. I did cut out 6 round pices of heavy cardstock 285gsm for 3 spools on my Cameo, this you also can do with