Inlägg

Visar inlägg från november, 2014

Purse #Tutorial

Bild
Hi there, today I'm sharing a beautiful tutorial for a Purse! (Sorry it is in Swedish, use the translation button). So here we go..... Du behöver ett cardstock och skär ut följande: 20 x 15 cm - blir bakstycke och lock 10 x 15 cm - blir framstycke 5 x 9 cm (2 st) - blir sidostycken till väskan 5 x 13 cm - blir botten 7 x 12 cm - blir fickan 5,7 x 3 cm (2 st) -blir sidostycken till fickan 3 x 12 cm - blir botten på fickan Lättast är att sätta på mönstrat papper innan man sätter ihop alla delar. Jag har också rundat av hörnen, utom på bottendelen. Biga dom två sidostyckena till väskan och botten på 1 och 4 cm. Limma fast sidostyckena kant i kant längst ner på bakstycket. Sen monterar jag fast bottendelen och då ser det ut så här. Limma fast framdelen, då bör det se ut så här.. Sen sätter jag fast sido- och bottenstycke på fickdelen, och limmar fast på framstycket. Jag tycker att ca 1 cm från nederkant är lagom. ...
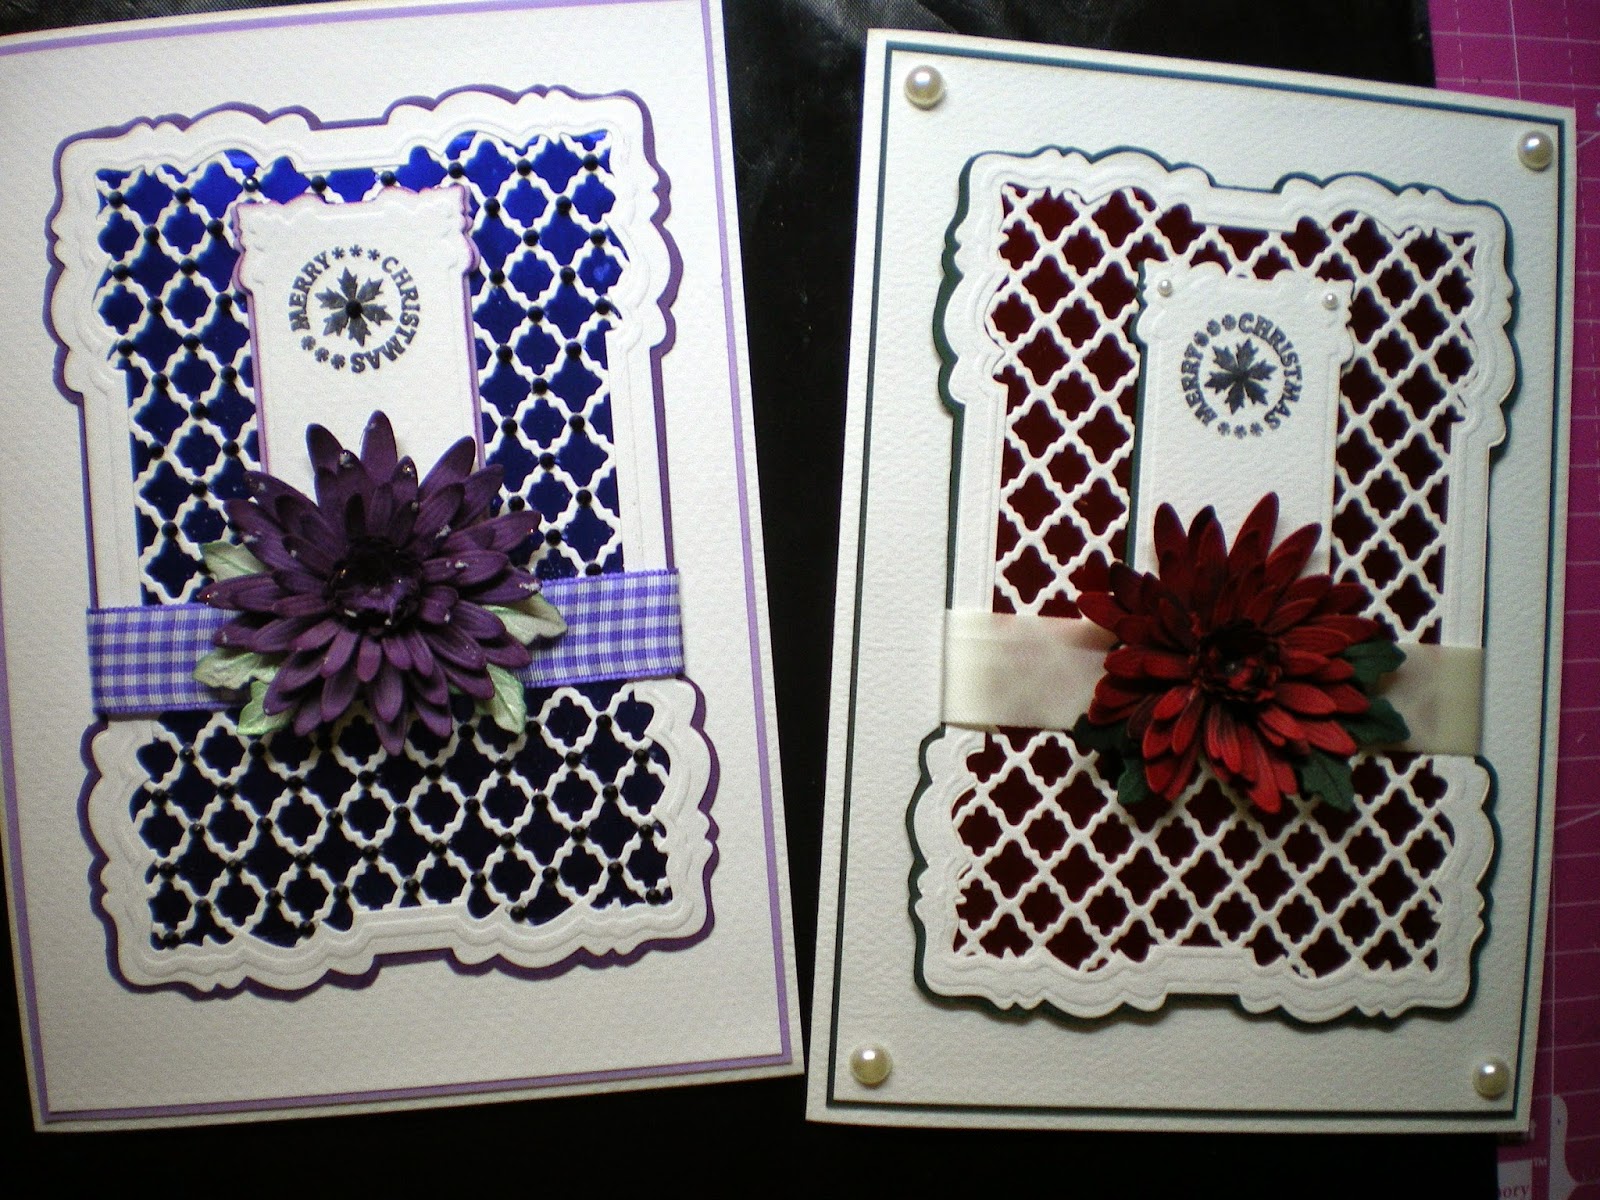
#Tutorial for #Spellbinders Gerber daisy #Christmas card S2-066

Bild
Hi there, todays christmas card are made from Sue Wilson die - Seville and Spellbinders Gerber Daisy  S2-066. Here you can see them in red and purple!  Cut/emboss 4 of the Large Base and 2 of the small Base from red cardstock. Cut/emboss the petal die 8 times through your die-cut machine, from red cardstock.  (now you got 16 petals of each size).  Cut/emboss 3 Disc Florets from red cardstock. With die cut remaining in the die,  Distress the florets with -black soot-. Cut/emboss 5 Leaves and 1 Calyx from green cardstock. With die cut remaining in the die, Distress the leaves and the calyx with -black soot-.   Add the same color to the petal die cut pieces, and only in the base of the petal, not to the end!  Shape the Disc Floret fringe with the stylus and (I use) a mouse pad, and then fluff the edges with your fingers. Using a stylus or pen barrel, shape the petals on each flower by rolling it ...

A #sneek-Peak...

Bild
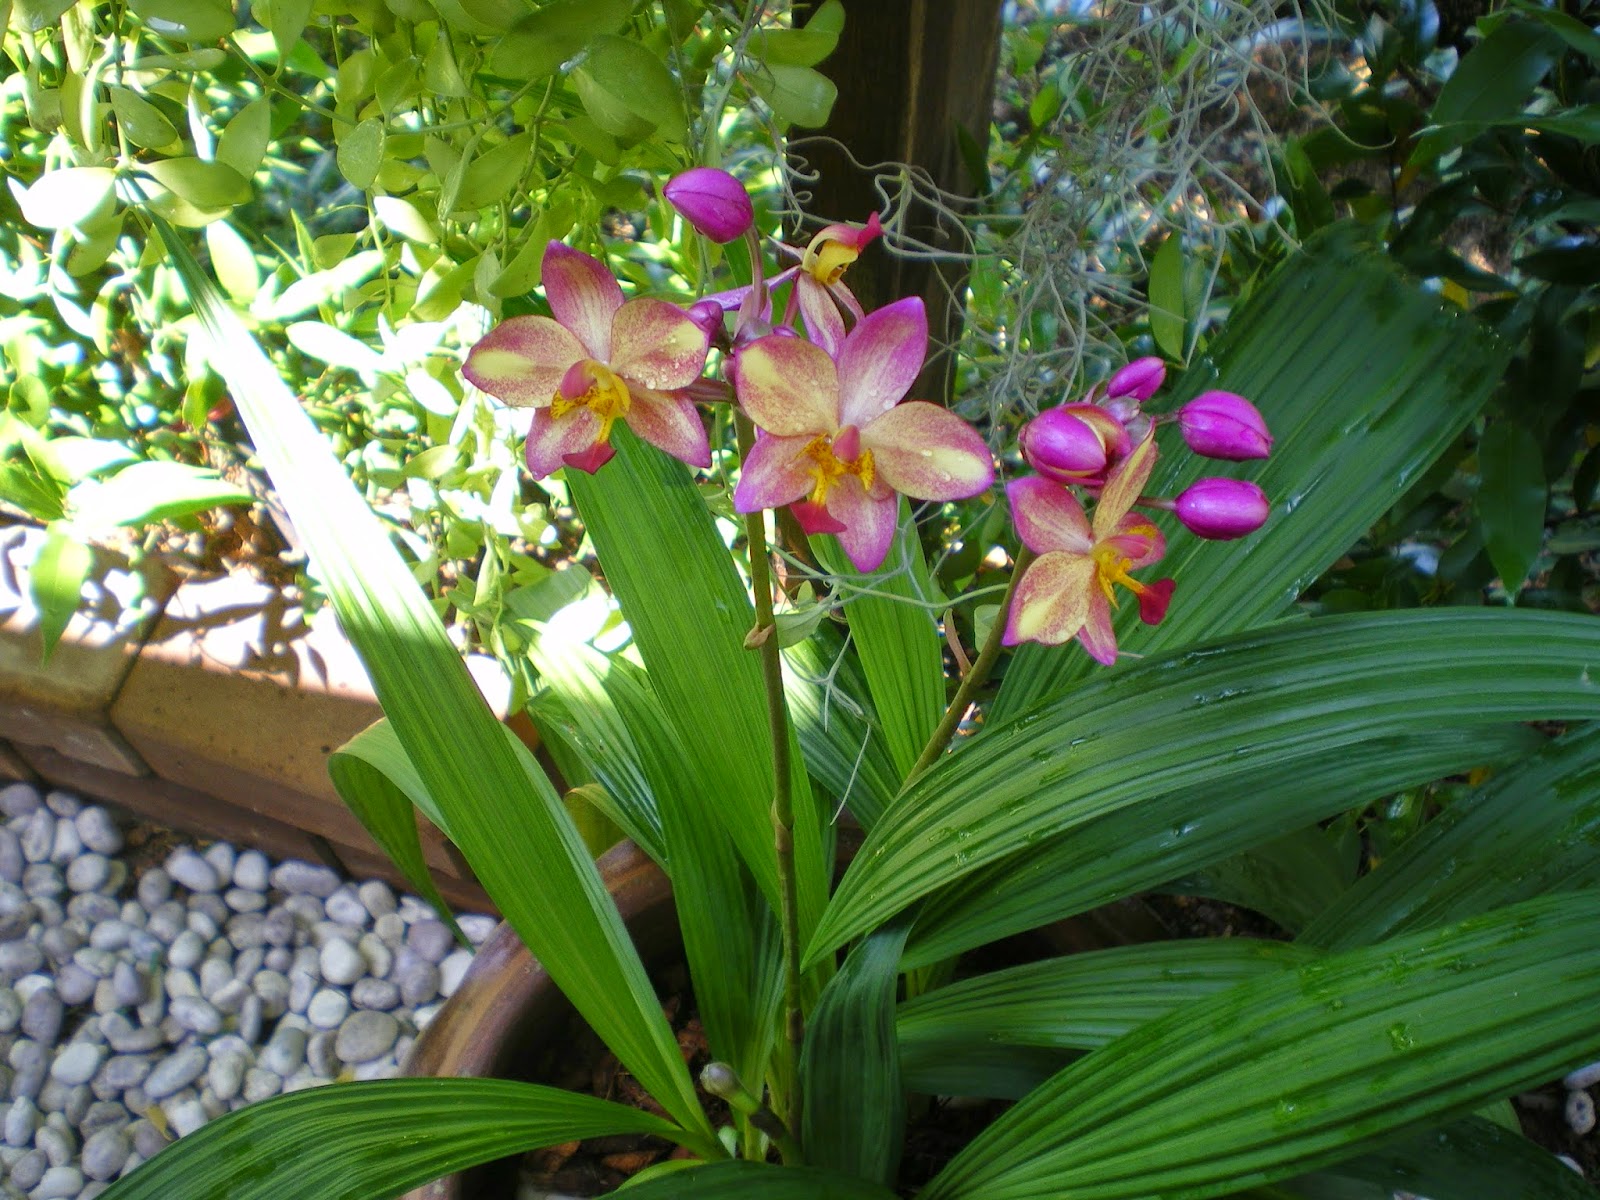
Hi there, took some photos in my garden here in Thailand. The first is one orchid that I bought rescently. So lovely colors.  And this giant bumblebee hit our fan. And this is a sneek-Peak of what is coming next week, I can tell you it is a #ChristmasCard. Happy Creating;) Anki J

#Spellbinders Grand Decorative Ovals Christmas Card #Tutorial

Bild
Hi there, this #Christmascard is made from Spellbinder collection.  Here is the dies that I used in this project. All from Spellbinders. I cut/embossed 1 of the smallest die from Grand Ovals in white cardstock. I cut/embossed 1 of the second smallest die from Grand Ovals in white cardstock. I cut/embossed 2 of the second largest die in the Grand Decorative Oval set in red cardstock. I cut/embossed 1 of the second smallest die from the Grand Decorative Oval set in red cardstock , and I also cut out the center of that piece with the second smallest die from the Grand Oval set. I cut 1 of  Fancy Lattice S5-152 in white cardstock. to use as a mask for the coloring. I cut/embossed 1 of Fancy Lattice S5-152 in gold cardstock.  I use the smalles die-cuts from Grand Oval and put the Lace mask over, taped it in place so it's not moving, and just fill out every litle squeres with different colors. I cut 1 of the smallest die from Grand Oval from  acet...